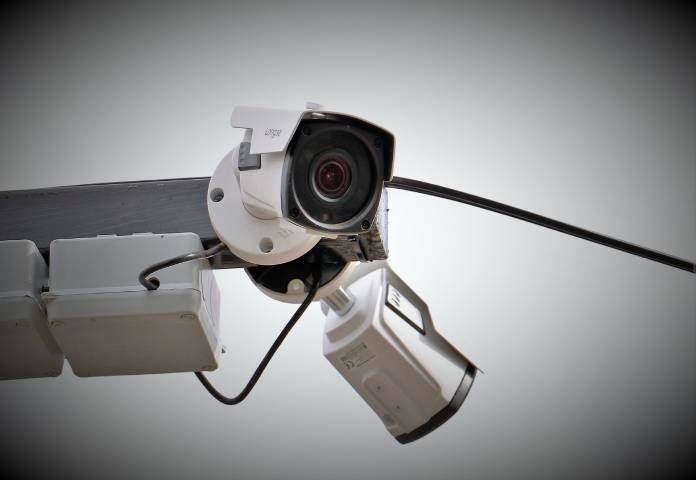
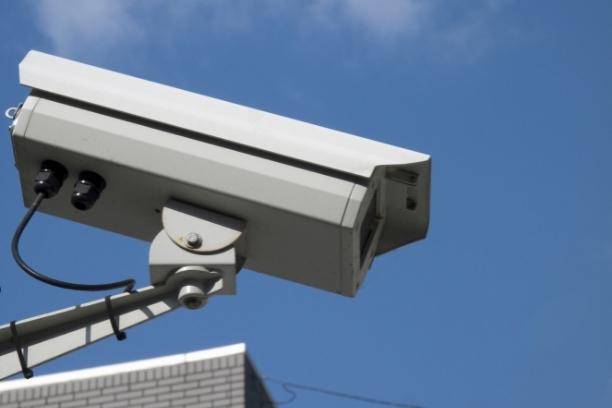
Do you need to install new security camera wiring to secure your business or commercial property? Would you like to be able to see your entire property at a glance on your smartphone and possibly prevent crime from occurring?
Your family will be safe and secure with a home security system. With these technological improvements, you may always leave your house with peace of mind, knowing that they are all safe. However, a professional may not always be available for installation straight once. That is why, when the time comes, knowing how to install security camera wiring is critical.
Our Services: Cctv Cameras Installation & Service
Installing home security wiring will be different, but you’ll have a good chance of succeeding if you’re reading this tutorial. Just a quick tip: if you don’t want to deal with the headaches of wiring your home security system, a battery-powered security system might be the way to go.
Wiring Security Cameras: Tips For Installation
When installing security camera wiring, there are a few things to keep in mind.
Perhaps you’re interested in learning how to wire security cameras. However, before you begin, please switch off the main power source because we will be identifying ourselves with electricity. Drill a hole in the places where you will route the wire, and then use a hanger for your wires to ensure no blockages.
Try to make sure the holes are a bit bigger than the wirings because the wirings are supposed to pass through bigger holes in the future if you want to add more wires and security cameras. Another suggestion is to mark your cables to know which one goes where.
Easy Steps On How To Install Security Camera Wiring
It would be difficult to install a home security camera if you aren’t extremely handy with your DIY skills. Following ill-instructed guides isn’t going to help you at all. Drilling holes, running cabling, and connecting each piece of wire in the proper order is all part of learning how to install security camera wiring. We have provided a step-by-step guide on how to install security cameras with wires.
Our Services: Door Access Control System Service in Los Angele
Decide Where You Want Your Cameras To Go
Wired security cameras aren’t as easy to install as they look. Simply mounting them wherever won’t suffice. You must consider what makes the most sense in terms of installation simplicity.
For example, having a camera put on the outside wall next to your front door in the top corner would be fantastic, but you’ll need to consider how you’ll get the connection from the camera to the DVR box. When it comes to installing the cameras, this is your limiting issue.
Make The Camera Installation Ready
You may require various tools depending on where your cameras are installed. An ordinary power drill and some simple drill bits, for example, will suffice. However, if you’re drilling into brick or another masonry, though, you’ll need a hammer drill and masonry drill bits.
In any case, begin by designing a hole for the camera’s wire to pass through, as well as holes for the camera’s mounting screws. Some kits will include a template sticker, which will make the work much easier. If yours doesn’t have them, tape the camera to the wall or ceiling where you want it and use a pencil to indicate the holes.
Our Services: Structured Cabling Specialists in Los Angeles
Connect Each Camera Location With Cables
It’s time to run a cable to each of your camera positions once you’ve drilled holes for them. This is another where the order of things may alter depending on your scenario, but in general, you’ll be drilling holes through walls or ceilings to feed cables to where they need to go.
Connect The Dvr Box To The Cables
Next, you will need to route all of the wires to the DVR box after you’ve discovered all of the cable runs where each camera will be. You’ll probably need your fish tape again, as well as a power drill to drill holes in walls or ceilings.
Set Up The Cameras
Things get a lot easier because running the cables is the most challenging aspect. Each camera installation should take a few minutes.
Begin by connecting the camera to the cable that emerges from the hole. The excess should then be fed back into the hole.
Our Services: Remote Video Surveillance System Installation
You can make some rough changes to the camera after it has been fitted by removing the adjustment screws and then tightening them back up once all adjustments have been made. Keep in mind that once you can see the camera’s live view, you’ll probably need to make finer adjustments, so you’re not finished with this step yet.
Conclusion
Finally, these are just some simple measures. You’ll never have to be concerned about anything again. Fully operational home security is like a fortress; robbers and criminals will not go unnoticed!
It’s crucial to plan how to install security camera wiring, especially if you don’t want to see loose cables hanging from the ceiling. Installing home security wiring may seem difficult, but reading everything here will give you a decent sense of how to go about it.


